The question I am asked more than any other, is "How do I lose my love handles?" It's the reason I created my Hard Core Abs workout DVD.
The moves target what you really need for a sleek midsection: a full-body-toning, heart-pumping cardio workout, with obliques working with every move.
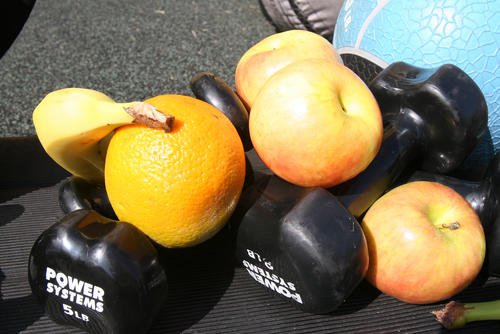
Losing the hated handles also requires a diet with small portion sizes in 5-6 meals a day, made up of mostly fruits, vegetables, high-fiber (whole-wheat) bread and pasta, and lean protein like eggs, fish and organic chicken. Substitute water and green tea for soda and alcohol.
Here is part two of my article, "8 moves to lose the love handles you hate."
Related articles:
- "Lose the Love Handles You Hate! - Part 1" by Nikki Fitness
- "Lose the Love Handles" by Stew Smith
Do three sets of this workout for a 30-minute routine. You'll need a stability ball for moves 3-5.
1. Side V
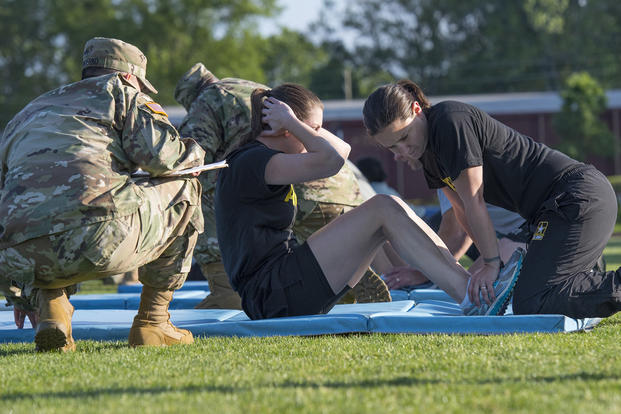
Lie on your back, with your shoulders flat on the floor and hands behind the head. Bend your knees and drop them off to the right side. Move the knees up to hip level so the body forms the letter "L" from knees to hips to head. Crunch the chest to the ceiling for 40 each side. Repeat on the left.
The more intense version of this is to turn onto the right side of the body, extend your right arm on the floor out at shoulder level and lift both knees off the floor as you lift up onto your right elbow. Do 20 reps and repeat on the other side.
Lie on your back, with both hands behind your head for support and your legs long. Lift both legs off the floor three inches. Then raise the right leg to the ceiling and reach your left hand straight up toward your toe. Switch sides and bring your straight left leg up to the sky and reach for your toe with the right hand. Keep looking at the ceiling and do 30 reps.
3. Ball oblique side crunch
Kneel on the right side of the ball and straighten your right leg out to the right side of your body, with your foot on the floor. With your left hand, hug the ball close to your hip and then push your weight into the ball so the left hip is anchoring the ball down.
Start with your left hand still on the ball and put your right hand behind your head. Lower your left-side ribs onto the top of the ball and engage your right-side obliques to bring you back upright. Once comfortable with the move, you can put your left hand behind the head as well, because your hip is anchoring the ball. Do 15, then repeat on the other side for one set.
4. Ball oblique twist
Start sitting on the ball and walk your feet away so that you slide down to a bridge position, with your head and shoulders comfortably resting on the ball. Your head should be in line with your hips while you contract your glutes and quads to hold you up.
Place the hands in the prayer position extended directly above your neck. To perform the move, roll up onto your left shoulder and bring your gaze and your hands directly to the left as pictured. (Be sure to roll onto the shoulder and not just move your hands, because your head will come off of the ball.) Return to center and repeat on the other side for one rep. Perform 15 repetitions.
Start in a seated position on the ball with your hands behind your head and lie down, then return to sitting by engaging the abs. That is a normal crunch. Start there if you are a beginner. If comfortable with the regular crunch, then lie back and engage your abs while sitting up and twisting your shoulders, head and torso to the right.
Lie back down and twist to the left for one rep. Perform 20 reps. (Make it even more difficult by crunching up halfway, pausing there, then twisting to the right without coming completely up to a sitting position, so your abs engage throughout the entire move.)
6. Side plank oblique pull in
Start in a side plank position on your right hand (directly under your shoulder) on the mat and your left hand reaching up to the sky. Start with your left foot stacked on your right foot. Balance by engaging the arm and core muscles and lift the left knee up to the ceiling toward your left elbow as you bring your elbow in closer to your ribs.
7. (Cardio interval) roll-up jump
This next cardio interval starts on the floor. Sit with your legs extended in front of you. Rolling your back into the mat, your feet can lift over your chest and your hands over your head. Use momentum to roll quickly back to the start but with your knees bent and feet on the floor.
Plant your feet and jump up into the air, with your feet leaving the ground and reaching your arms for the sky. Land softly and bend the knees to lower down to sitting. Use momentum to roll back lightly. Perform 10 roll-ups for this interval.
Trainer's tip: Make it easier by keeping hands by your hips and using them to help push you off the ground.
8. (Cardio) standing abs
A. Stand up and reach your right arm to the sky. Balance on your left leg and pull your right arm down toward your right ribs while bringing your right knee up to the right toward the elbow. Return to standing with your right arm and leg straight. Repeat 20 times and then switch to the left side.
B. Balance on your left leg again and reach both arms up and diagonally to the left. Bend your right leg and bring the knee up toward your left shoulder while bringing the arms down diagonally toward the right, bent knee. Return to standing with your arms reaching up diagonally to the sky and your right leg long. Repeat 20 times and switch to the left side.
Fitness: Fit it in to fit into your jeans without love handles hanging over you.
Nikki
Want to Learn More About Military Life?
Whether you're thinking of joining the military, looking for fitness and basic training tips, or keeping up with military life and benefits, Military.com has you covered. Subscribe to Military.com to have military news, updates and resources delivered directly to your inbox.
